What is IR & UV photography?
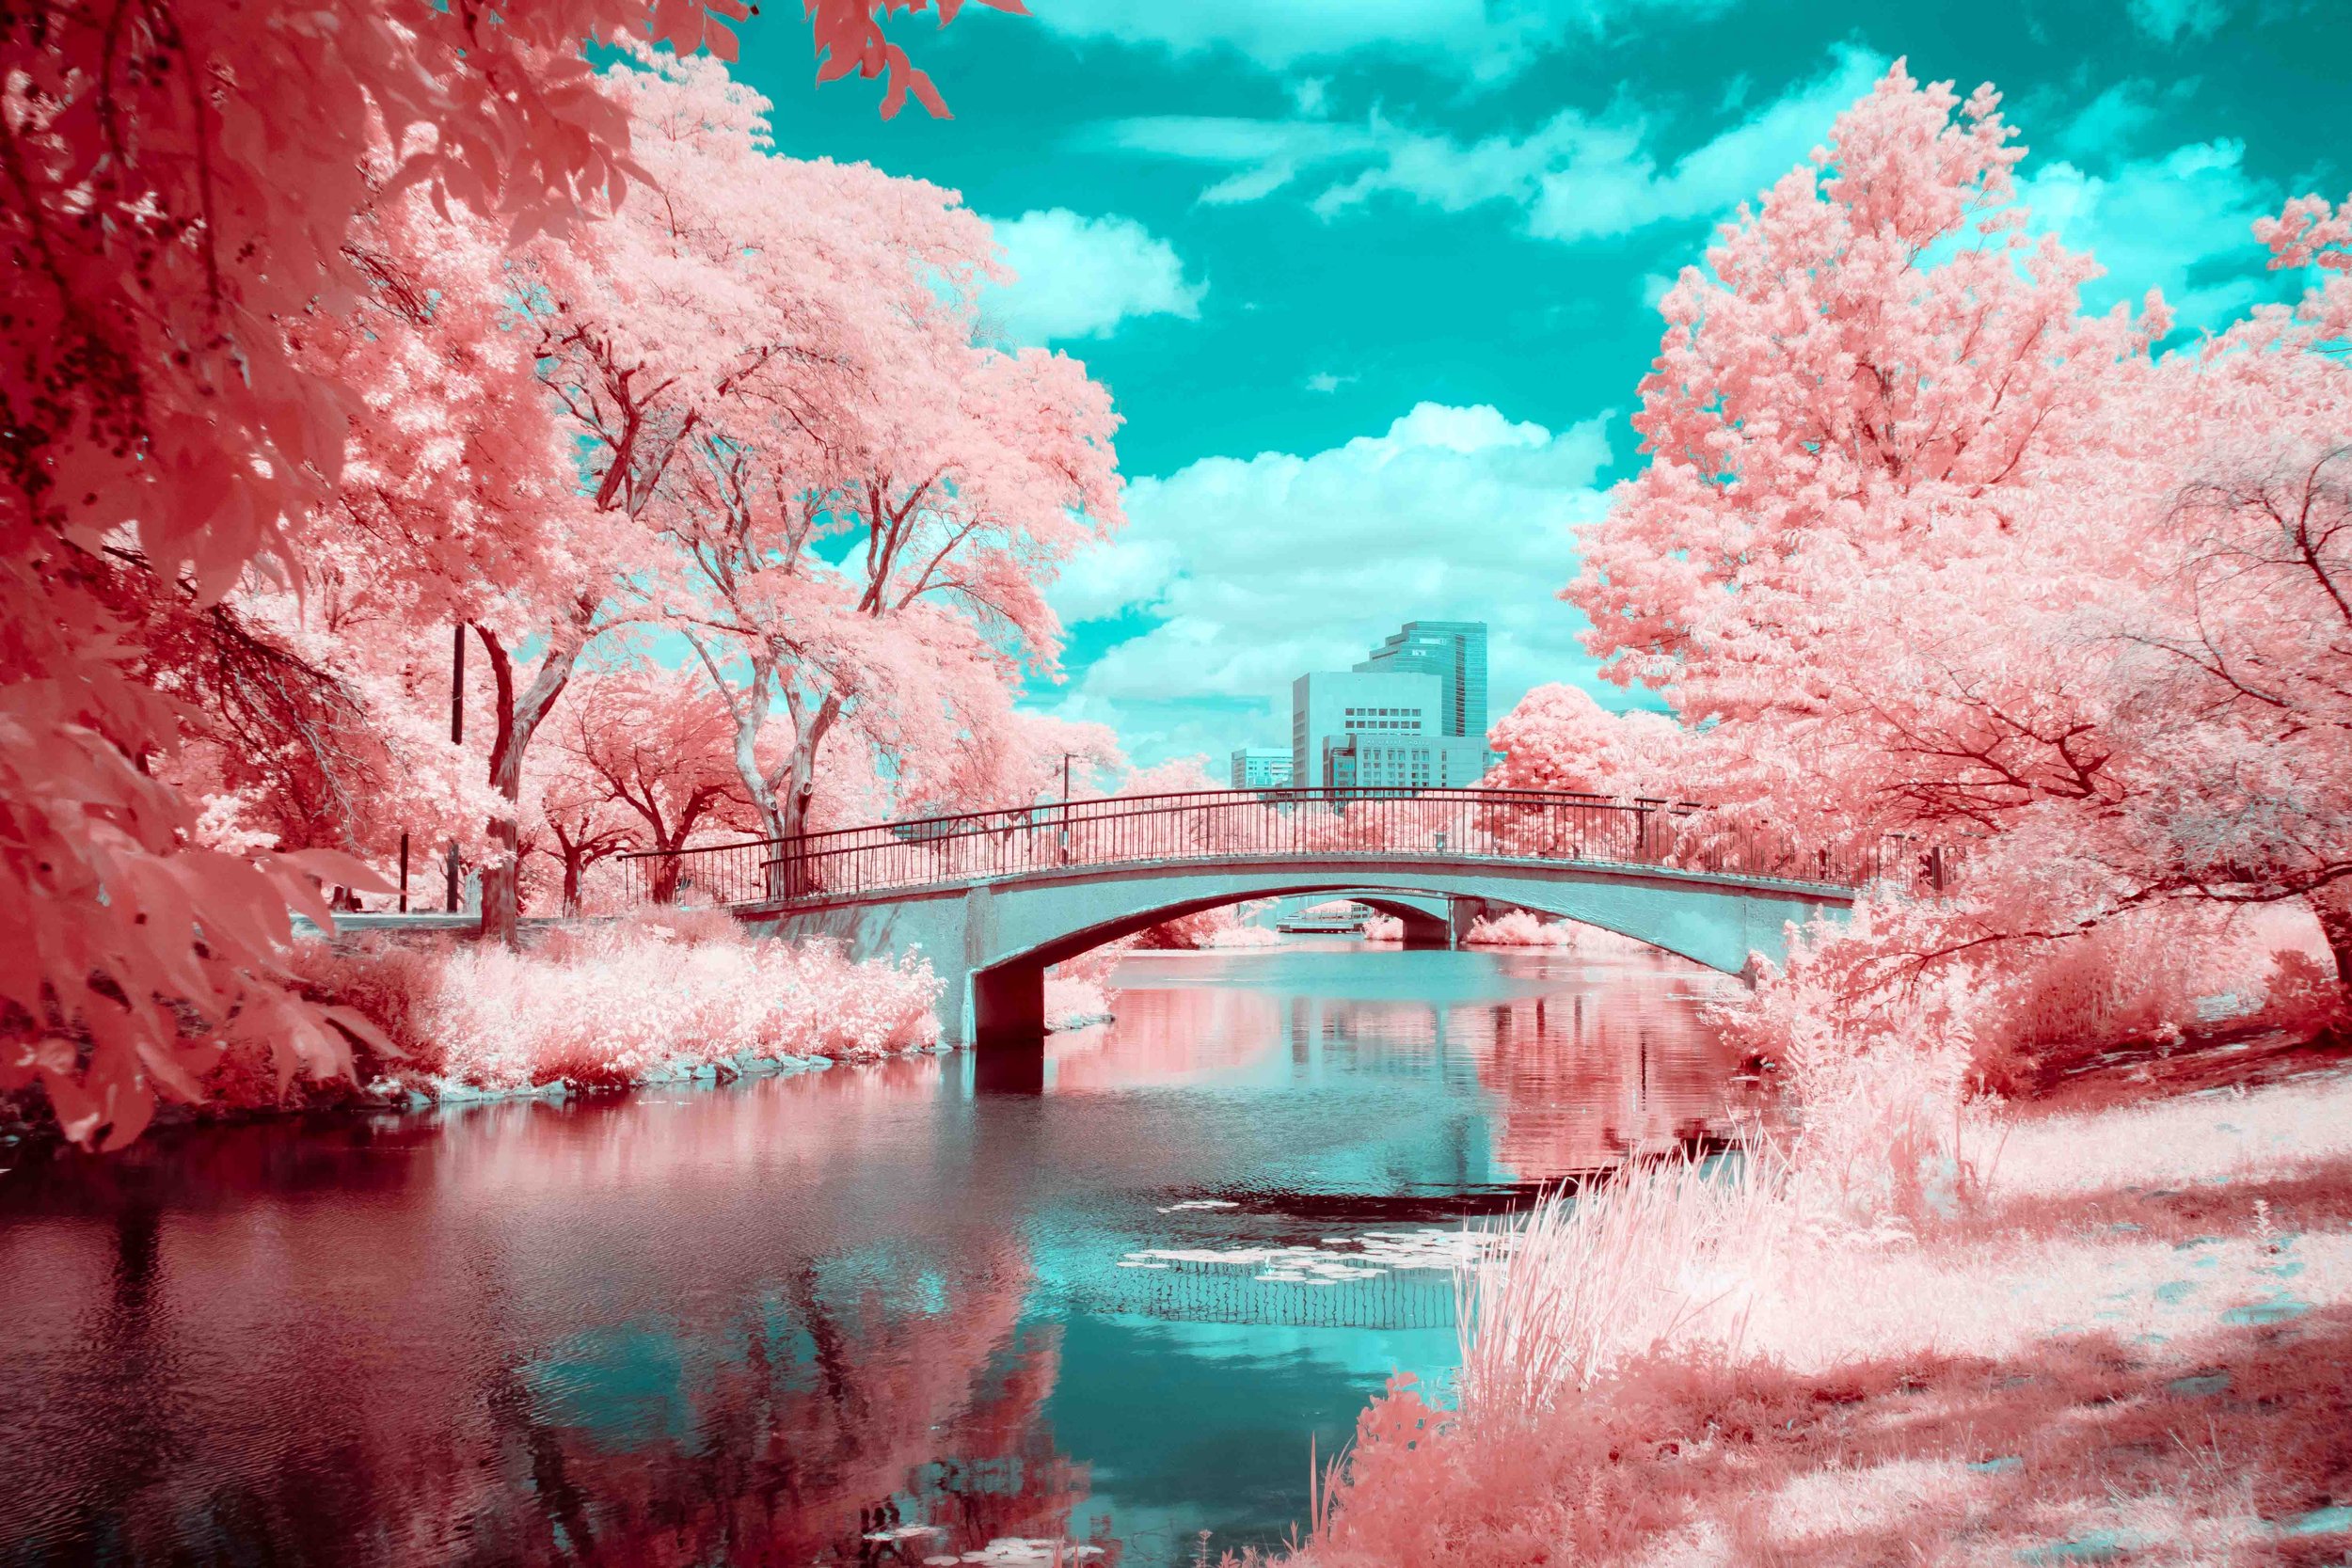
A few years ago, I was endlessly scrolling through IG one day, casually glancing at familiar images—landscapes, golden sunsets, cute dogs, etc—when I saw something different. I stopped scrolling instantly. What I saw didn’t make sense: an image of rolling pink hills absolutely radiating light; a lone tree stood on a hill, and the tree had a lush canopy of pink leaves glowing against an impossible teal sky.
This is the moment I discovered infrared and ultraviolet light, or IR & UV, photography. From that happenstance moment, I had a new mission: to learn how and what IR and UV photography was.
In this article I’ll do my best to distill what I’ve learned about this fascinating technique. Although I’m not an expert in this niche, I’m comfortable enough with the process to explain the basics and inform most interested beginners.
“IR and UV photography is the process of making photos using light that sits outside our own small slice of visible light.”
Light 101
Photography will always be dependent on light. We spend years learning about “good light,” from soft light to harsh light, golden hour and blue hour. Like a chef learning spices, light and its variations are the essential ingredient for all pictures.
However, the light we see is only part of the story. I won’t make this a full-on science lesson, but essentially, the human eye can only see a small portion of all the light that truly exists. The full range, or spectrum, is much wider than our eyes can perceive.
IR and UV photography is the process of making photos using light that sits outside our own small slice of visible light.
To capture these images you need:
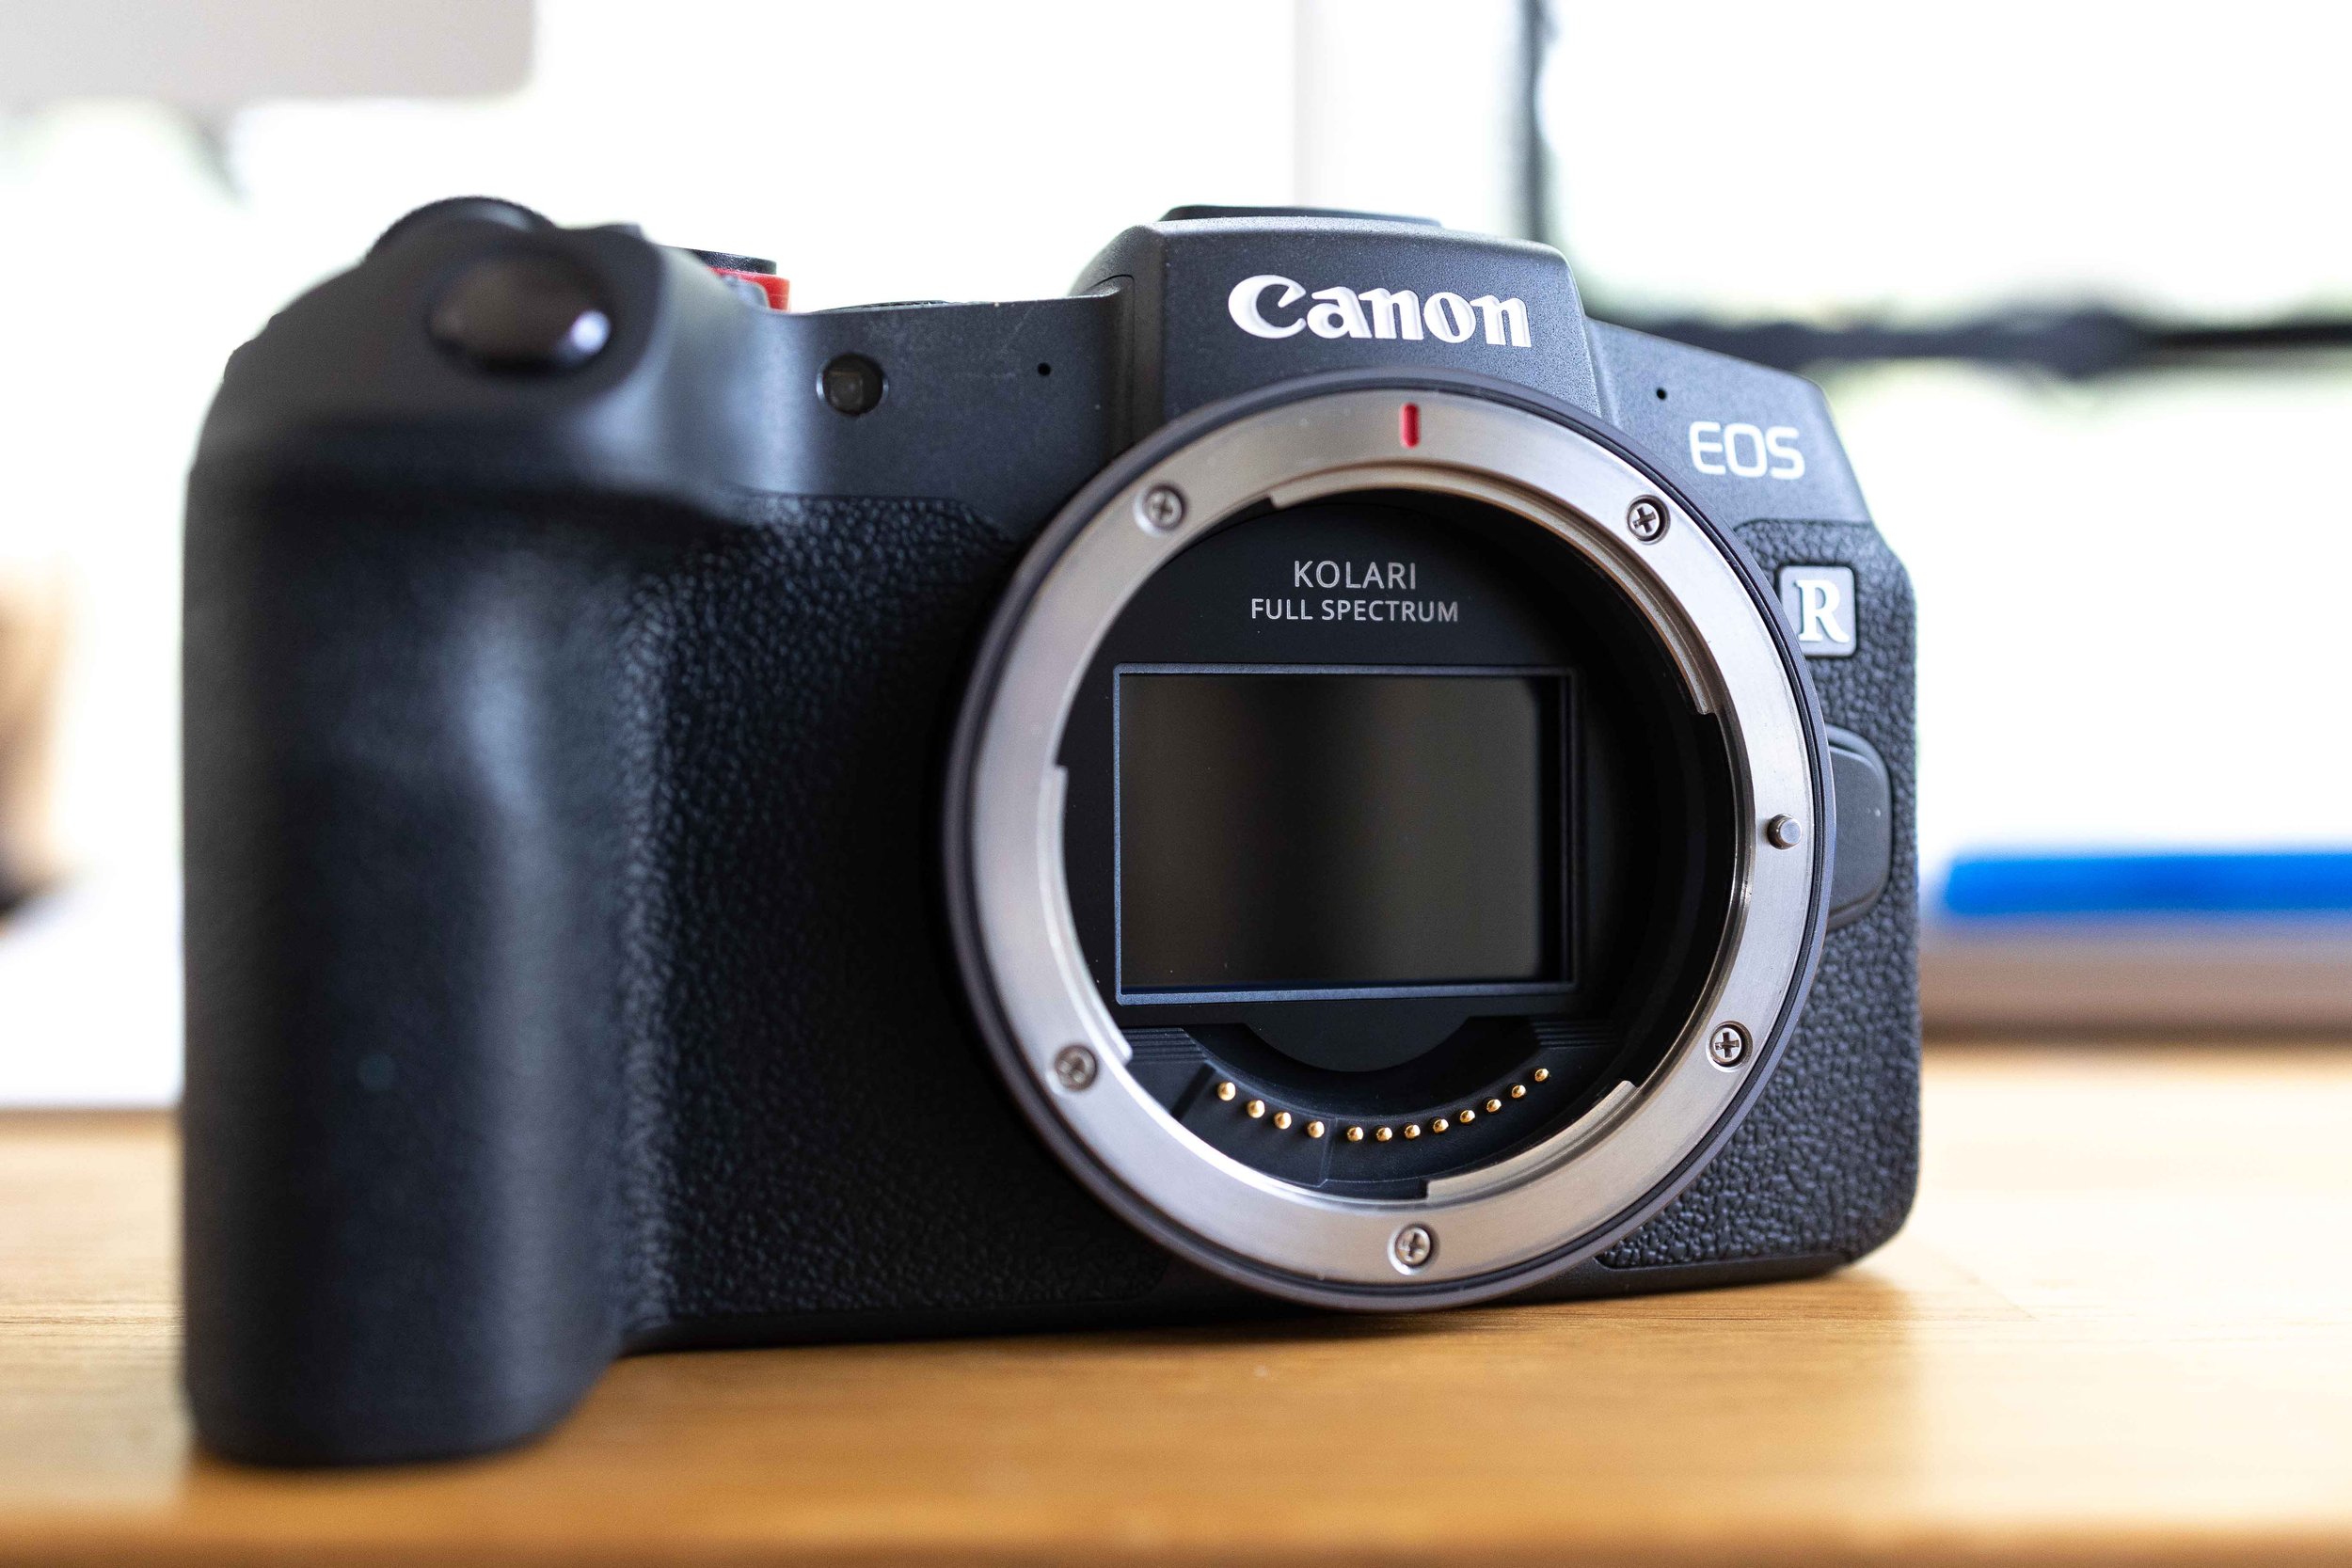
A camera (DSLR, mirrorless, even a point-and-shoot) that has been “converted” to see the full spectrum of light; this is called a “full spectrum conversion.”
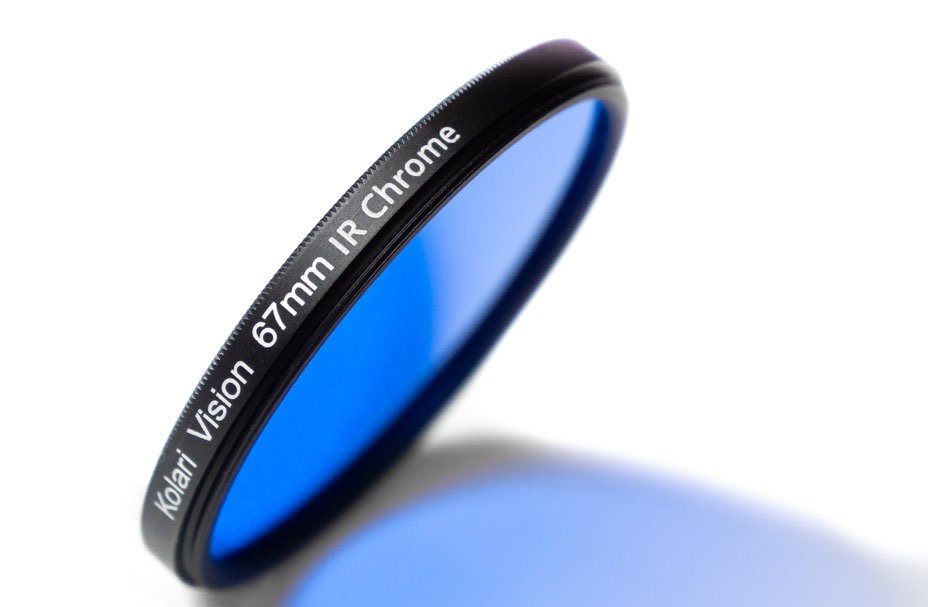
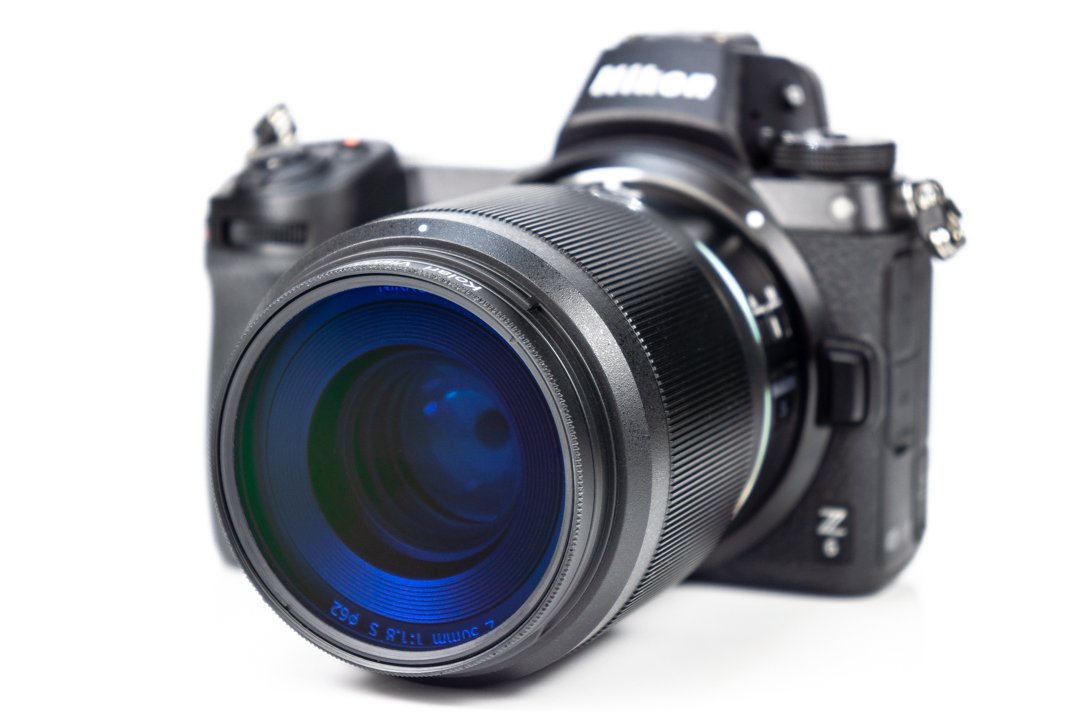
Filters to narrow your camera’s vision to “see” certain parts of the spectrum to capture different color effects.
If you wish to do more color effects, editing programs like Adobe Photoshop or Lightroom.
1. The Camera
Camera conversion is permanent, so using an older camera or one you no longer need can be a great way to give older gear a new lease on life. Converting a camera isn’t something you can do, but instead send to a company that does it for you. This usually costs about $250 and takes about 10-14 days. I’ve used KolariVision, which has been a great experience, and I encourage most people to start with them.
2. Filters
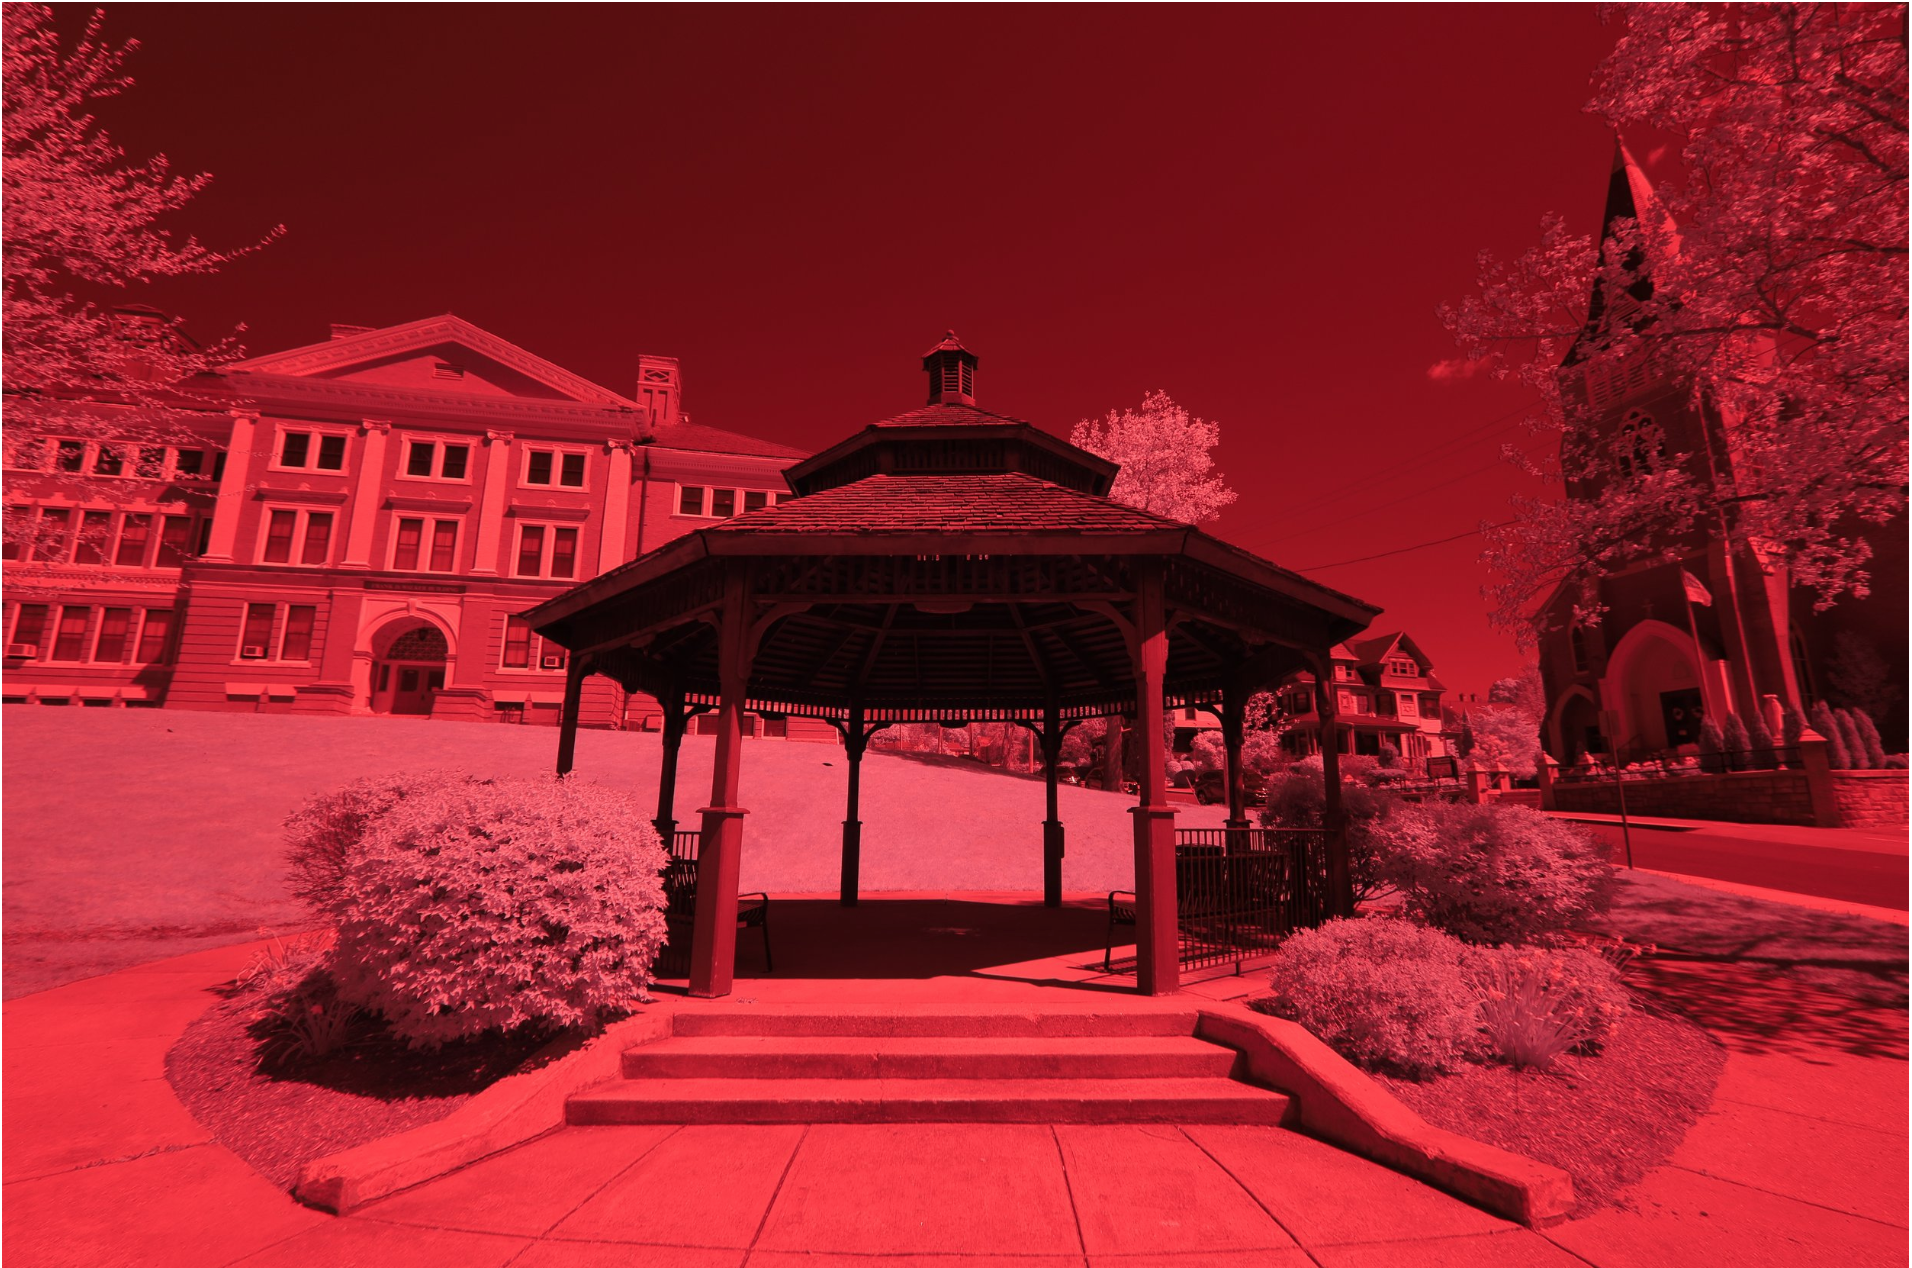
Once you convert a camera and start taking photos, you’ll immediately notice that the colors are crazy and mostly just red (see photo in carousel below).
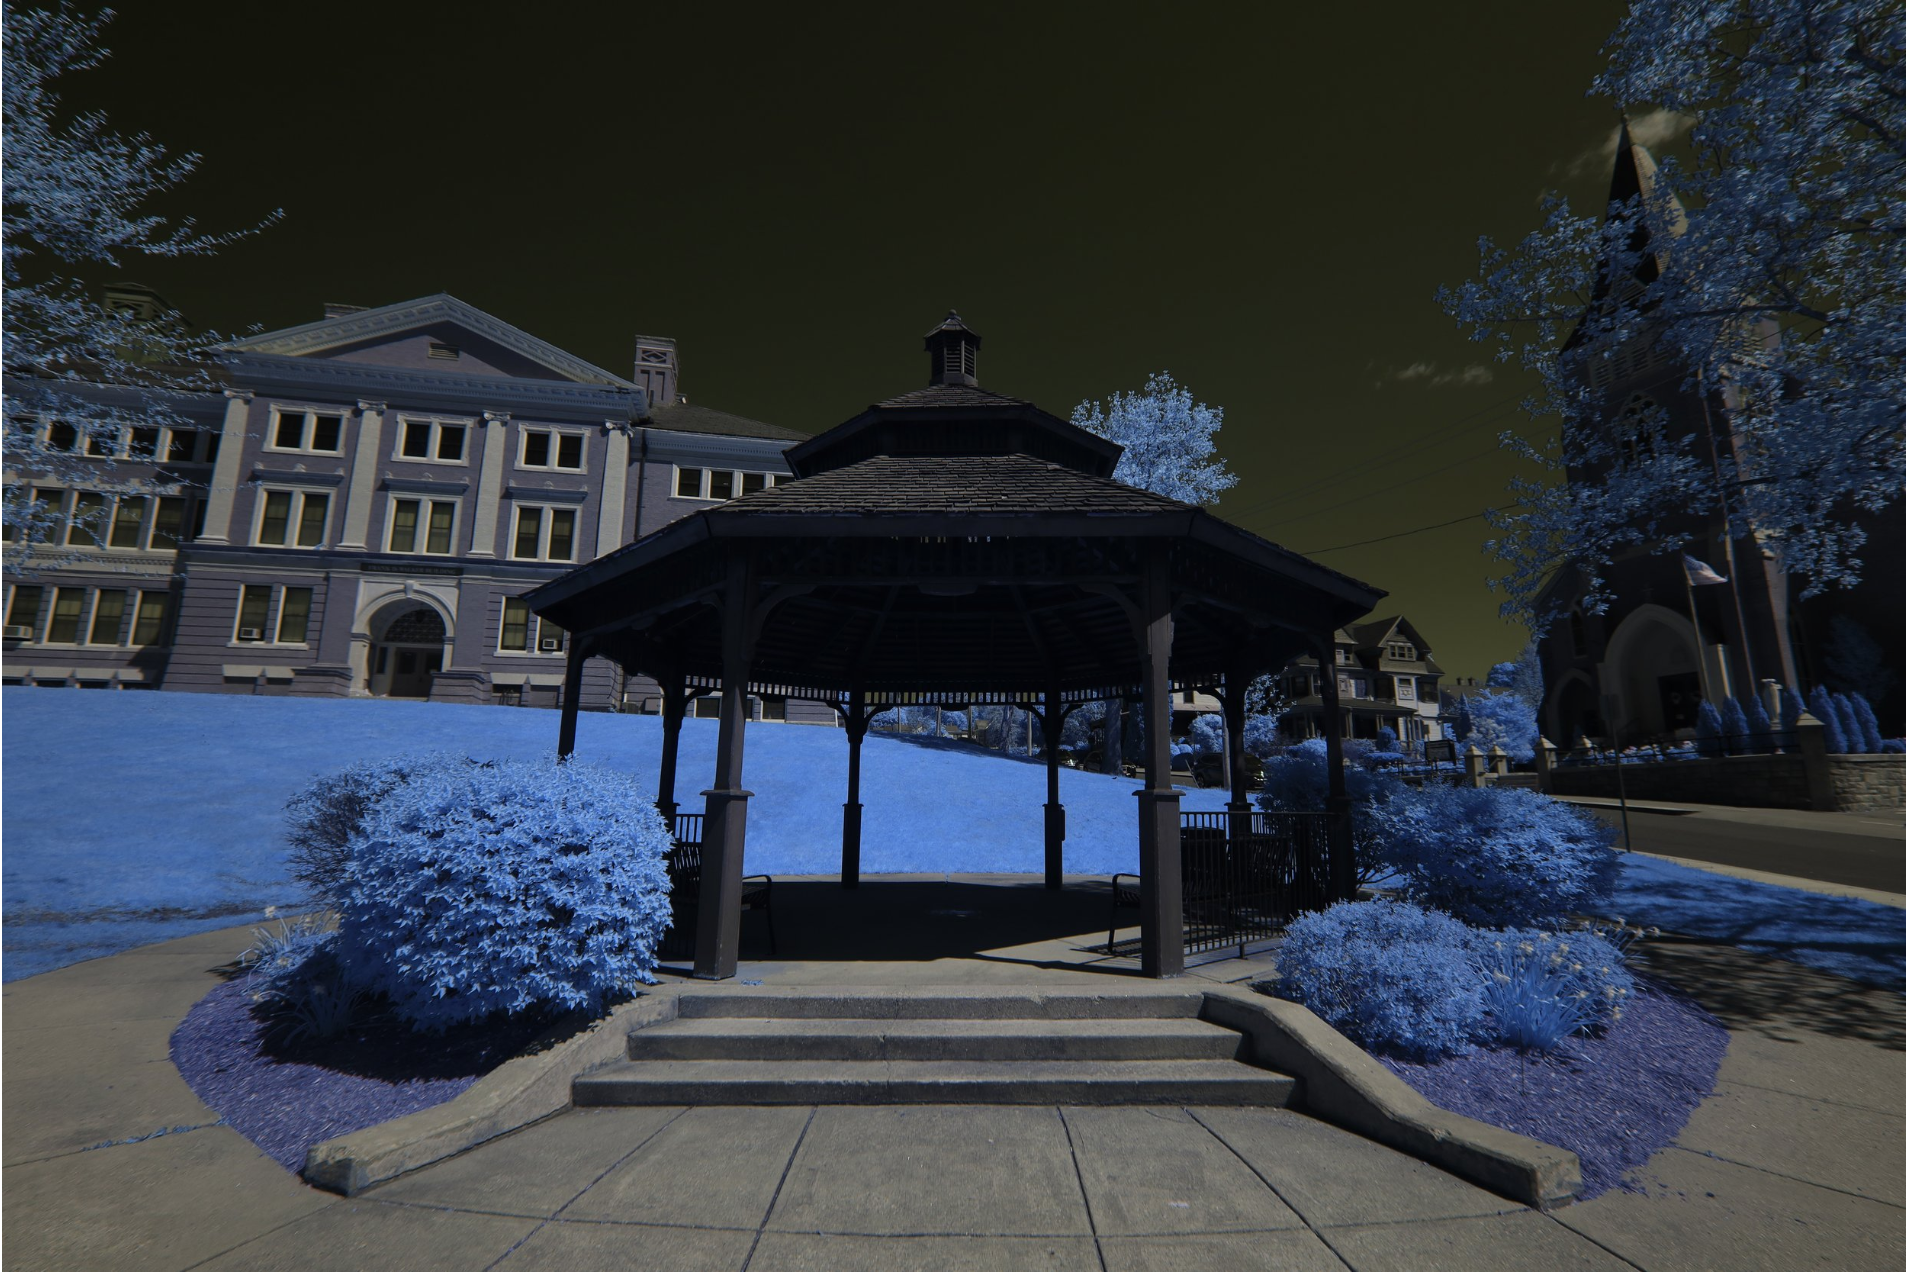
So the next step is to start applying lens filters. Using different filters, you can start to narrow down what colors your camera sees and start to make photos that go beyond a wash of red. KolariVision sells filters with varying effects; they do cost about $50 or more a pop, but having these filters is essential. I myself enjoy using the IR chrome filter and the 590nm infrared filter.
“UV and IR light is dependent on sunshine, so you want to make photos when sunlight is abundant.”
When to shoot
Once you get the camera and filters in order, what’s next is taking photos at the right time, and of the right subjects. UV and IR light is dependent on sunshine, so you want to make photos when sunlight is abundant—much different than normal photography rules, where sunsets and sunrises are sought after. In IR & UV photography, shooting from 11a-3p is ideal. Strong sunshine with its direct and harsh light is how you’ll get the sharpest images and richest colors.
Subject Matter
Plant life is my go-to subject matter. Plants, trees, flowers, vines, and grass, all respond very well to sunlight and will cause a powerful punch of color. On the other side of the coin, stone, wood, brick, and other non-plant elements, usually result in more muted tones. What this means is that photographing nature and manmade elements together is a recipe for success.
3. Editing Photos
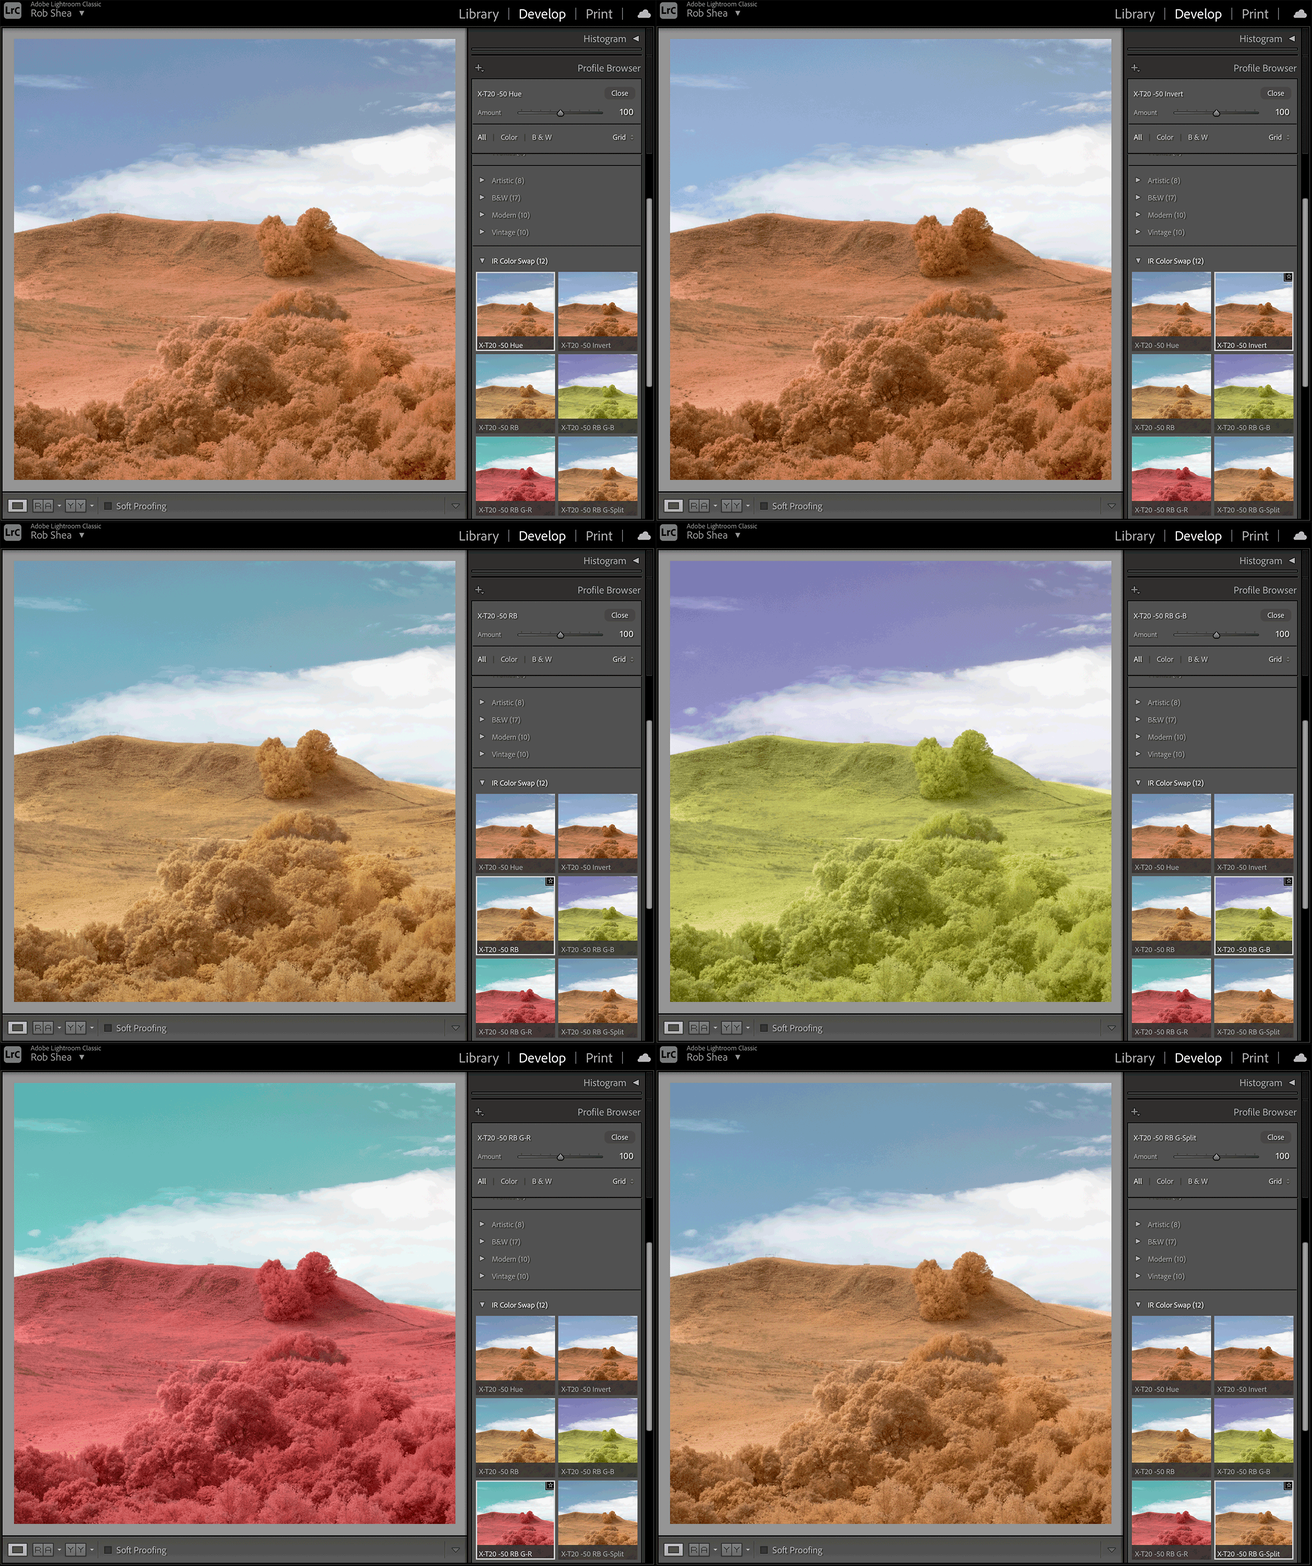
Editing IR and UV photos is fun but also requires some learning. Shooting in JPG, you can easily take photos into any program and start editing. But, if you shoot RAW, you will need to tweak the white balance to get your desired effect.
There are many ways you can do this, Photoshop being one, but I personally prefer (and thankfully discovered) Rob Shea. Rob took the time and created Lightroom Profiles to help make IR editing easier. Rob offers many free downloads to help get you started, but also sells camera specific profiles that let you apply amazing color effects with a single click.
Getting Started
IR and UV photography is exciting. There are few types of photography that boggle my mind and leave me wanting more. But I realize getting into IR & UV photography can seem complicated, with having a spare camera, converting a camera, and buying filters.
To help folks see the magic and gain access with less commitment, we’ve started offering IR & UV photography workshops. In these half-day workshops, each student receives a converted mirrorless camera, zoom lens, and two filters to use during class. Throughout the workshop, you’ll learn more about the technical details, but mainly create IR photos during a photo walk at some of my favorite locations that offer spectacular images. The day concludes with editing and image sharing. Each workshop is limited to five people, so snag a spot while you can.
Regardless if you join us, I hope you get a chance to try IR & UV photography, if only to learn more about light and the world of color that is hidden all around us.

